This is not a tutorial. It's a story of how we built our outdoor wooden sink. But I promise, there are good images and enough details so you can get an idea how you can build a similar one yourself.
Here is a bit of introduction. We were planning to build this outdoor sink at least two years ago. But other projects and health issues delayed it. When we came here first here in the country I was watering the garden using a water can. No joke. There was no water outside of the house so imagine me running with a water can 50 times every other day trying to water the raised beds with vegetables. They were dry all the time.
Next year we bought several garden hoses and started watering this way. The water was coming from the kitchen so I had to keep the door slightly open and watch for the cats not to go inside. Painful but much much better than using a water can. Finally last year I drilled a hole in the wall and put a faucet on the outside wall of the house. What a relief!
So here we go, the last year we finally decided to build an outdoor sink. I don't like concrete, and the ready made concrete sinks available here are looking horrible. Not to mention they are expensive too. And I've no idea how will they bring that heavy stuff here. So you guessed, we chose wood.
Preparing the Ground
As much as I wanted to go without any concrete, the uneven ground and having too much weeds made us decide in its favor. We called the neighbor for help and ended up with a nice area and pathway:

The total for this was about $100 for materials and $100 for work. More than the sink itself, but we had some budget so not a big deal.
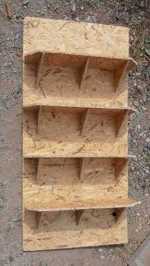
Preparing The Cabinet Parts
As you'll see we did not want just a sink, but some kind of a small cabinet where to hold some buckets, tools etc stuff. We wanted it to be looking good too :) We don't have much choice of material here - just same type of rough pine boards and beams. But I wanted to keep this project rustic and affordable so the available material was good enough.
Here is the most fun part for me. I did not want to use too much hardware so decided to use purely woodworking joints with variations of mortises and tenons. Here's a bit of hand work, my pleasure:

It was quite a bit of work with the drill and the chisels:

Some of the pieces had tenons, other were connected with squared treenails.
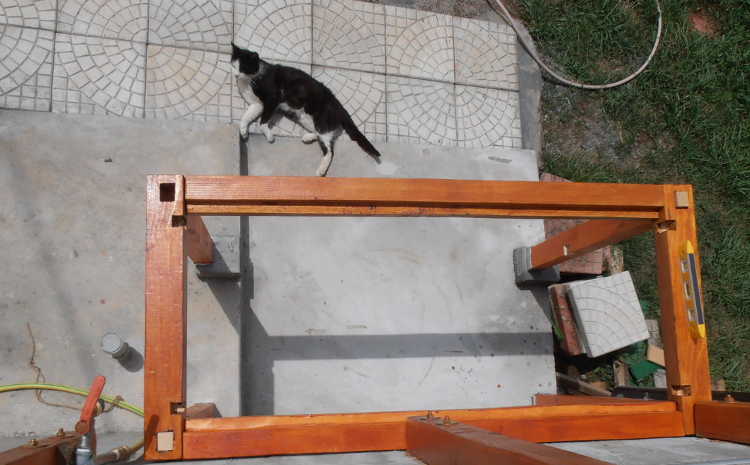
Building the Stuff Together
The whole thing has almost no nails or screws except for the door hinges. Here are some details:
I made this rabbet with the hand saw so it's not very precise. Good enough for such kind of project. Chiseled a bit here and there but it was tiresome so finally got the angle grinder and grinded the rough places of the rabbet with it. This did the work. And here is how we started building the opening for the sink itself:

And here we go, kind of ready:

We used a hose to connect the water because pipes were too much work... well, we'll probably have to work on pipes this year because hoses can't sustain the water pressure. Anyway, the sink is functional for the moment and looks good. Or at least I think so :)