This is a small project we built last winter. We've got two Ikea Expedit units a couple years ago. They are robust and cheap but not as practical for storing books as we initially imagined. The unit is too deep for one row of books, but not good for two. So we had to come with a solution.
The idea was to something like drawers. The front part will be used for books while the back will form a box for small stuff which is not used often - like backup light bulbs, Christmas tree toys etc. We made a Sketchup drawing before starting the project (get it here from our Bulgarian blog):

This must be made from thin and robust material so plywood sounded a good choice. We bough 8mm / 1/3" thick plywood and started work.
First we made a cardboard model to test the concept:

Making a model is always good idea because cardboard is cheap or free, and much easier to build a rough prototype. Following the model, here are the different parts of the box, already cut from plywood:

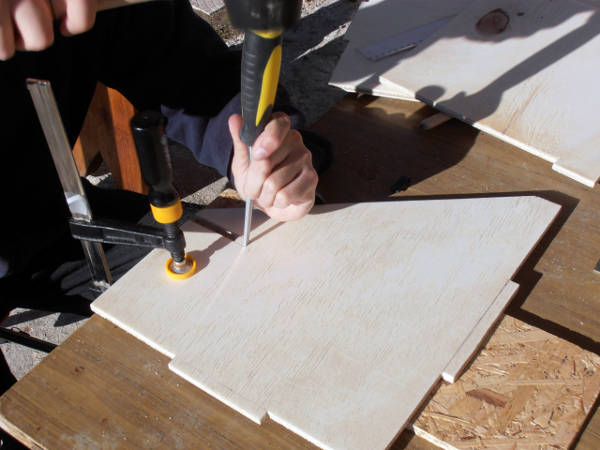
All parts are cut out on hand, with a hand saw. The mortises and tennons are made with a coping saw and chisel. We don't have laser cutter. It was time consuming but I enjoy this hand work far more than just throwing it all to a machine. You can however save a lot of time if you use jigsaw with a metal cutting blade (I discovered this near the end of thr work). Don't cut plywood with rough blade for hardwood.

We tried a few different versions with more tennons but then the part aren't easy to fit when cut on hand. So finally the version with only a few tennons worked best. Here is a downloadable drawing (17KB) with sizes in mm.
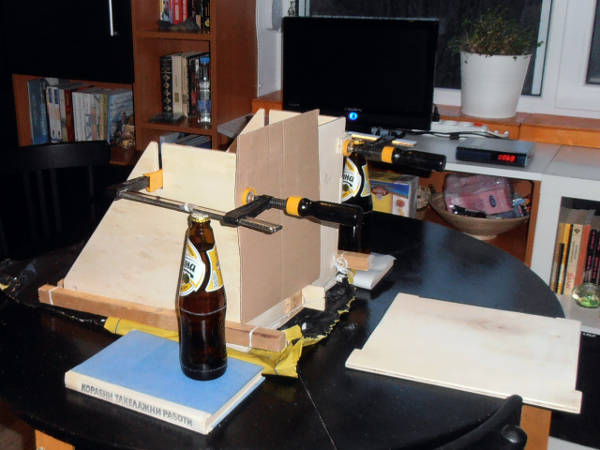
The next step is putting it all together with some glue. You'll need some long clamps to do make it stick. What to do if you have no such clamps? See below:

Our small clamps also did some work with the help of beer bottles:

We also sanded the edges on hand using sand paper. When cutting on hand there is some tear on the edges of the plywoord so sanding is very important. Finally the ready box looks like this:

When the glue dried we sanded with smaller sandpaper again and painted. Here is the box inside the Expedit unit:

We have two Expedit units and wanted to apply this hack to all the for top shelves. But after the third box was ready another idea came to mind - we decided to make a wine stand for the fourth shelf. So here we go - the wine stand parts are cut out and ready for assembling:

Same techique used - hand saw, chisel, sandpaper.
And now it's all done, arranged with wine and books :)

